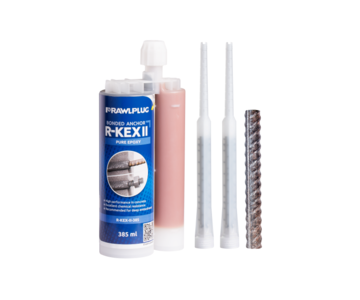
R-KEX II with Rebars as an Anchor
Premium pure epoxy resin approved for use with reinforcement bars
Features and benefits
- The strongest resin in the epoxy resin class
- Approved for use with rebar as in anchor for use in non-cracked concrete (ETAG001 Option 7)
- Suitable for use in dry and wet substrates including under water
- Very high chemical resistance – suitable for applications exposed to influence of various agents (industrial or marine environment)
- Minimal shrinkage provides option of use in diamond-drilled holes and oversized holes
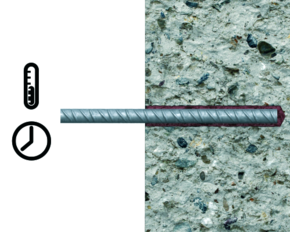
- Extended bonding time ensures easy installation of metal components (up to 30 min. in 20°C)
- For use in positive temperatures
Installation guide
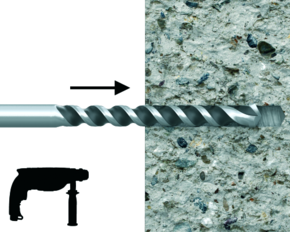
- Drill hole to the required diameter and depth for stud size being used.
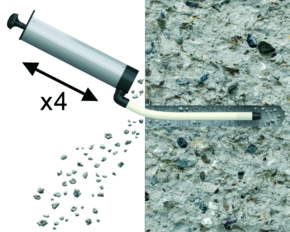
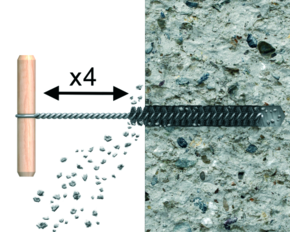
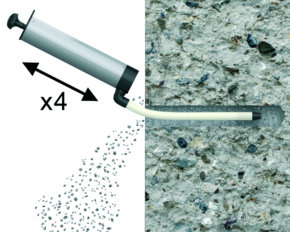
- Clean the hole with brush and hand pump at least four times each. It is very important and necessary before installation.
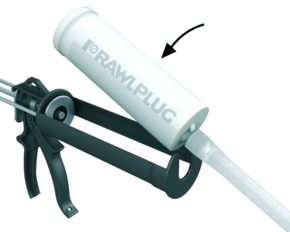
- Insert cartridge into gun and attach nozzle.
- Dispense to waste until even colour is obtained.
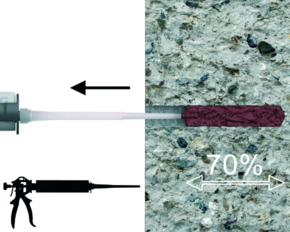
- Insert the mixing nozzle to the far end of the hole and inject resin, slowly withdrawing the nozzle as the hole is filled to 2/3 of its depth.
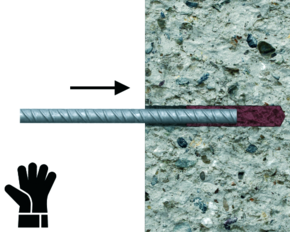
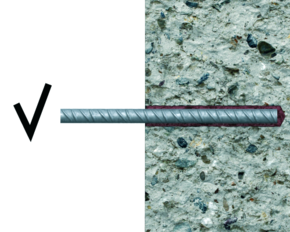
- Immediately insert the rebar, slowly and with slight twisting motion. Remove anyexcess resin around the hole before it sets and leave it undisturbed until the curing time elapses.
- Drill hole to the required diameter and depth for rebar size being used.
- Clean the hole with brush and hand pump at least four times each. It is very important and necessary before installation.
- Insert cartridge into gun and attach nozzle.
- Dispense to waste until even colour is obtained.
- Insert the mixing nozzle to the far end of the hole and inject resin, slowly withdrawing the nozzle as the hole is filled to 2/3 of its depth.
- Immediately insert the rebar, slowly and with slight twisting motion. Remove anyexcess resin around the hole before it sets and leave it undisturbed until the curing time elapses.
Download
Product Card
Approvals and reports